| 
Discovery
Channels hit TV show Fast N' Loud
Most
of you have seen us on the hit TV show "Fast N' Loud"
that airs on Discovery Channel Mondays @ 8pm CST. Shown
in over 90 country's, its one of the most watched reality
show on Discovery Channel and 2nd on paid cable television
just behind "Duck Dynasty".
We
are most know us for the leather seat rubbing technique
episode that we performed on the 1938 Aston Martin. ( Click
here to see the video )
We
have been a part of the show since July 2013 starting with
the 1938 Aston Martin. We are excited to be a part of this
television show and look forward to more opportunities with
Gas Monkey Garage and Discovery Channel and Fast N' Loud.
We film on occasion with the Gas Monkey Garage gang and
enjoy every min we get to be featured on the hit TV show
"Fast N' Loud".
Below
are some of the cars that we have had the opportunity to
restore and be filmed on the show. We have detailed prepared
every car since joining the show in July 2013.
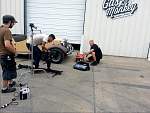
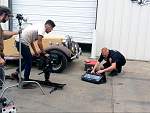
Even
thou we might not be shown on the show working on the cars,
we are behind the scenes spend countless hours to prepare
and make sure each vehicle looks its best to represent Gas
Monkey Garage, Discovery Channel and Fast N' Loud in the
best way possible. We are very honored to have this opportunity
and look forward to more episodes and fun with the Gas Monkey
Garage gang, Discovery Channel and the "Fast N' Loud
production team.
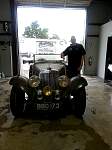
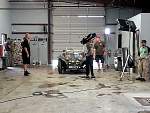
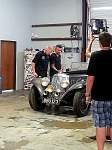
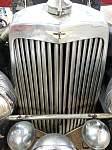
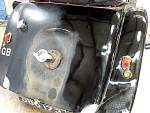
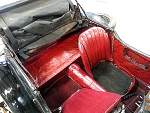
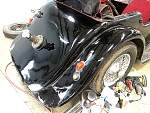
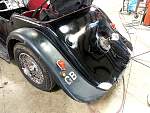
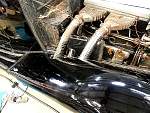
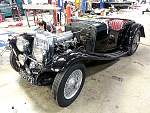
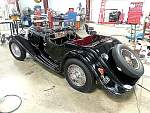
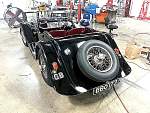
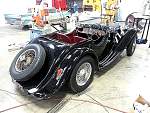
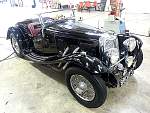
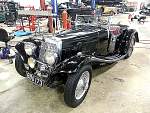
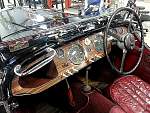
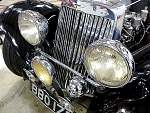
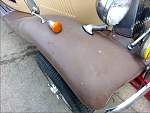
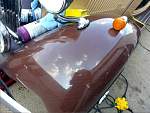
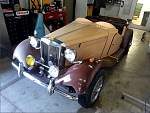
1938
Aston Martin ( Fast N' Loud Season 4 Episode 3 )
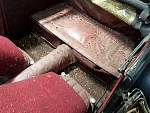
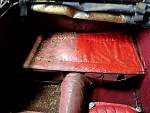
The
1938 Aston Martin had been sitting in a barn for over 45+
years. This Aston Martin was a one-owner car, 100% original
and completely numbers matching. Gas Monkey Garage and Discovery
Channels show Fast n Loud contacted me to come and perform
a extensive restoration on this gem. It was an honor to
get the opportunity to work on this and to have the whole
process documented by the Fast n Loud production crew was
a dream come true.
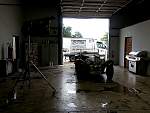
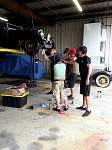
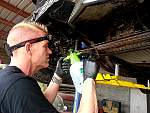
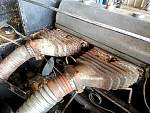
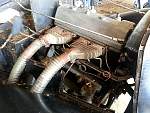
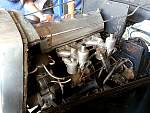
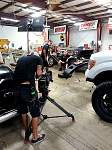
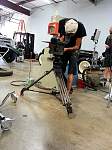
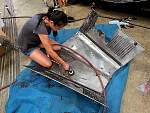
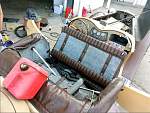
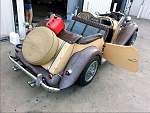
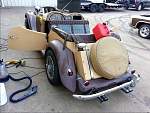
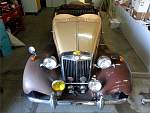
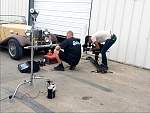
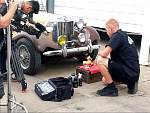
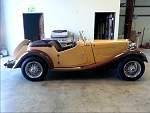
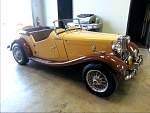
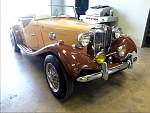
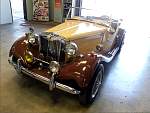
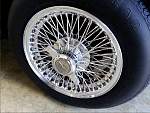
Below
are some photos of the experience. We were given the opportunity
to transform this rare barn fine into a show stopping like
new state vehicle. Over 77 hours were put into the transformation
of the Aston Martin.
Products
and equipment used in this restoration are as follows.
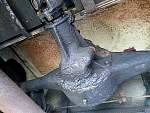
Undercarriage
Step 1. Wurth Foam Degrease
Step 2. Gloss-It APC Cleaner
Step 3. ZEP Degreaser
Step 4. Stainless Steel and Brass brushes of various sizes
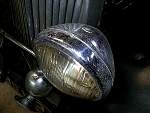
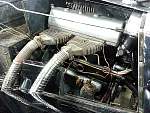
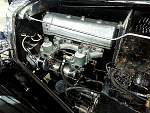
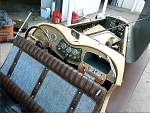
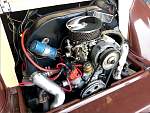
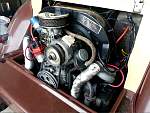
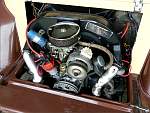
Engine
Step 1. Wurth Foam Degreaser
Step 2. Gloss-It APC Cleaner
Step 3. Various different brushes including Stainless steel
and brass along with XXX wool and scotch bright pads
Step 4. Swissvax Motor Shine
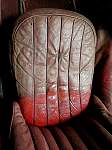
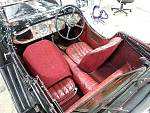
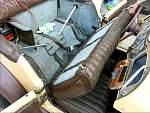
Interior
(Seats)
Step 1: Gloss It Satin Leather Cleaner & Swissvax Leather
cleaner and leatherinque pristine clean and different type
of brushes
Step 2: Gloss it Satin Leather Conditioner, Leatherinque
Rejuvenator, Swissvax Leather Softer, Swissvax Leather Milk
& of course the Swissvax Elephant Wax (museum formula)
( all products were applied by hand for more penetration
and deeper rub )
Interior
(carpets/rear of seats)
Step 1. Gloss It APC, Swissvax Fabric Textile Cleaner
Step 2. Various carpet brushes and micro-fiber towels
Step 3. Steam Cleaner using Gloss-It APC and mixture of
Purple Power
Exterior
Painted Surfaces
Step 1. Swissvax Cleaner Fluid Strong
Step 2. Swissvax Cleaner Fluid Professional Medium
Step 3. Swissvax Cleaner Fluid Professional Finish
Step 4. Swissvax Concorso Wax
back
to top
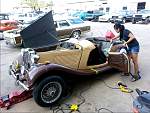
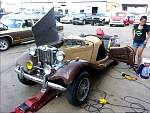
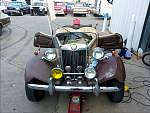
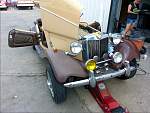
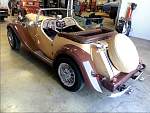
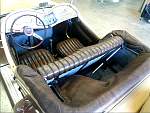
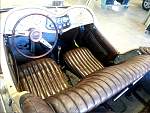
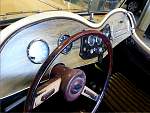
1980
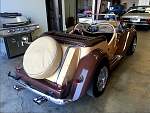
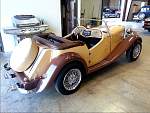
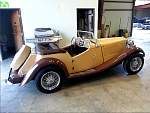
Allison Kit Car (Fast N' Loud Season 4 Episode 9)
Our
second vehicle for the show was a 1980 Allison Kit Car that
had been sitting inside a garage again for over 10 years.
This vehicle was in dire need of extensive detail restoration
The body on the car was made of GEL coat, that of which
boats are made of, so restoring the shine, gloss and clarity
was more of a challenge than a typical clear coated vehicle.
Over
20+ hours were put into this detail restoration project.
Not as an intensive detail as the 1938 Aston Martin, our
main focus was restoring the paint, engine detailing restoration,
and interior restoration, including bringing life back into
the shrinking leather seats.
Undercarriage
Step 1. Wurth Foam Degreaser
Step 2. Gloss-It APC Cleaner
Step 3. ZEP Degreaser
Step 4. Stainless Steel and Brass brushes of various sizes
Engine
Step 1. Wurth Foam Degreaser
Step 2. Gloss-It APC Cleaner
Step 3. Various different brushes including Stainless steel
and brass along with XXX wool and scotch bright pads
Step 4. Swissvax Motor Shine
Interior
(Seats)
Step 1: Gloss It Satin Leather Cleaner & Swissvax Leather
cleaner and leatherinque pristine clean and different type
of brushes
Step 2: Gloss it Satin Leather Conditioner, Leatherinque
Rejuvenator, Swissvax Leather Softer, Swissvax Leather Milk
& of course the Swissvax Elephant Wax (museum formula)
( all products were applied by hand for more penetration
and deeper rub )
Interior
(carpets/rear of seats)
Step 1. Gloss It APC, Swissvax Fabric Textile Cleaner
Step 2. Various carpet brushes and micro-fiber towels
Step 3. Steam Cleaner using Gloss-It APC and mixture of
Purple Power
Exterior
(GEL coating)
Step 1. 3M Marine Rubbing Compound
Step 2. 3M Marine Color Gloss Restorer
Step 3. Swissvax Concorso Wax
back
to top
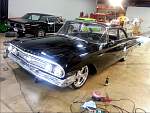
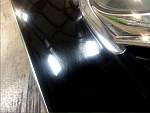
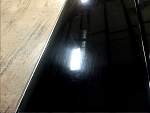
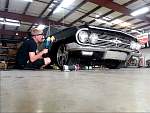
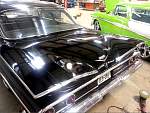
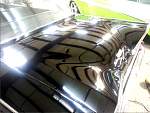
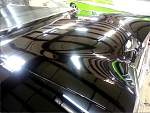
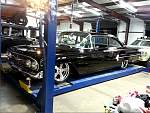
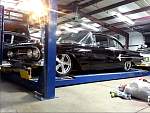
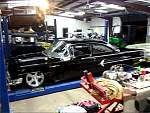
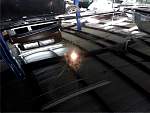
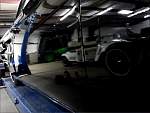
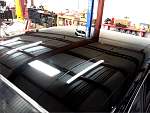
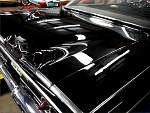
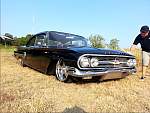
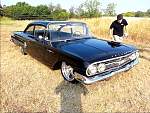
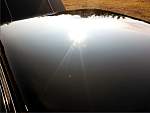
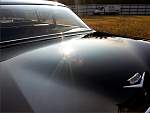
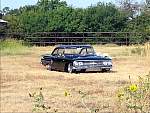
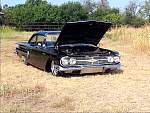
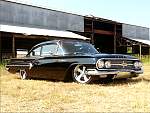
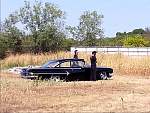
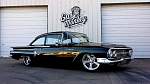
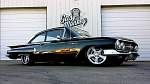
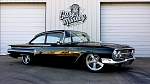
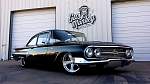
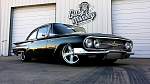
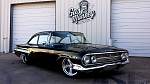
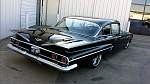
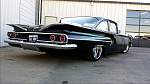
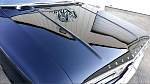
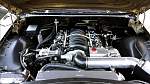
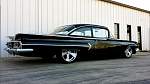
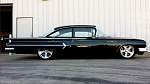
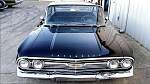
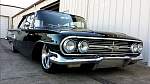
1960
BelAir
Even thou we were not on this vehicles episode, we still
have a lot to do with it. Over 22+ hours were put into the
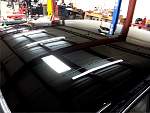
detail restoration of this 1960 BelAir. The paint was original,
so we were working with lacquer and this paint was bad.
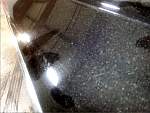
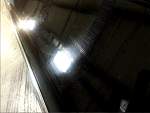
The clarity was gone due to the massive amount of surface
scratches in the paint. I knew that a very extensive mulit-step
correction was going to be needed. What I did not see was
just how hard the paint had become. I had to wetsand the
upper areas with 1500, 2500, 3000 sandpaper to get below
the deep scratches and then come back with the foam pad
and compounds to jewl the paint to a deep gloss and shine.
A lot of work, but the outcome is in its weight in gold.
The
interior was not in that bad of shape. I used the Swissvax
Interior Cleaner and then applied the Swissvax Leather Milk,
Leather Softerner and the Elephant Museum Wax to stop the
shrinkage and give neutrants and vitamins to the old leather.
Undercarriage
Step 1. Wurth Foam Degreaser
Step 2. Gloss-It APC Cleaner
Step 3. ZEP Degreaser
Step 4. Stainless Steel and Brass brushes of various sizes
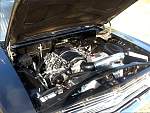
Engine
Step 1. Wurth Foam Degreaser
Step 2. Gloss-It APC Cleaner
Step 3. Various different brushes including Stainless steel
and brass along with XXX wool and scotch bright pads
Step 4. Swissvax Motor Shine
Interior
(Seats)
Step 1: Gloss It Satin Leather Cleaner & Swissvax Leather
cleaner and leatherinque pristine clean and different type
of brushes
Step 2: Gloss it Satin Leather Conditioner, Leatherinque
Rejuvenator, Swissvax Leather Softer, Swissvax Leather Milk
& of course the Swissvax Elephant Wax (museum formula)
( all products were applied by hand for more penetration
and deeper rub )
Interior
(carpets, dash, doors)
Step 1. Gloss It APC, Swissvax Fabric Textile Cleaner
Step 2. Various carpet brushes and micro-fiber towels
Step 3. Steam Cleaner using Gloss-It APC and mixture of
Purple Power
Exterior
Painted Surfaces
Step 1. Swissvax Cleaner Fluid Strong
Step 2. Swissvax Cleaner Fluid Professional Medium
Step 3. Swissvax Cleaner Fluid Professional Finish
Step 4. Swissvax Concorso Wax
|